Pico I/O Board
Modular Raspberry Pi Pico
A Raspberry Pi alacsony költségű mikrokontrolleres panelje, RP2040 kétmagos ARM Cortex-M0+ chippel.
 Expansion Board
The Mechaxil Pico I/O Board expands the Raspberry Pi Pico
pins so it's easier to use for prototyping.
Designed with usability, readability, and clean aesthetics in mind.
Perfect for prototyping, education, embedded development, and quick testing setups.
Use the navbar toggle to choose between Maker and Engineer views. Maker view hides advanced design and development details, while Engineer view shows full technical documentation.
Cleaner and faster wiring during development.
Easy access to pins and external connections.
Great for testing, prototypes, and permanent builds.
Stable installation inside enclosures and projects.
Design files and documentation are publicly available.
Made for transparency, reuse, and modification.
Hardware Specifications
| Parameter | Value |
|---|---|
| Compatible Boards | Raspberry Pi Pico
A Raspberry Pi alacsony költségű mikrokontrolleres panelje, RP2040 kétmagos ARM Cortex-M0+ chippel.
/ Pico 2 |
| GPIO Access | Full breakout |
| Mounting Holes | 4x M3 |
| Connector Layout | Dual male + female headers |
| NYÁK Nyomtatott áramköri lap - olyan lap, amely mechanikailag tartja és elektromosan összeköti az alkatrészeket réz vezetősávokkal. Color | Black |
| Use Case | Prototyping / Integration |
Included Hardware / anyagjegyzékAz anyagjegyzék a termék elkészítéséhez szükséges összes alkatrész, egység és anyag teljes listája.
| Item | Quantity | Included |
|---|---|---|
| Pico I/O Board | 1 | Yes |
| Raspberry Pi Pico
A Raspberry Pi alacsony költségű mikrokontrolleres panelje, RP2040 kétmagos ARM Cortex-M0+ chippel.
| 1 | Depends on kit |
| M3 Screws | 4 | Depends on kit |
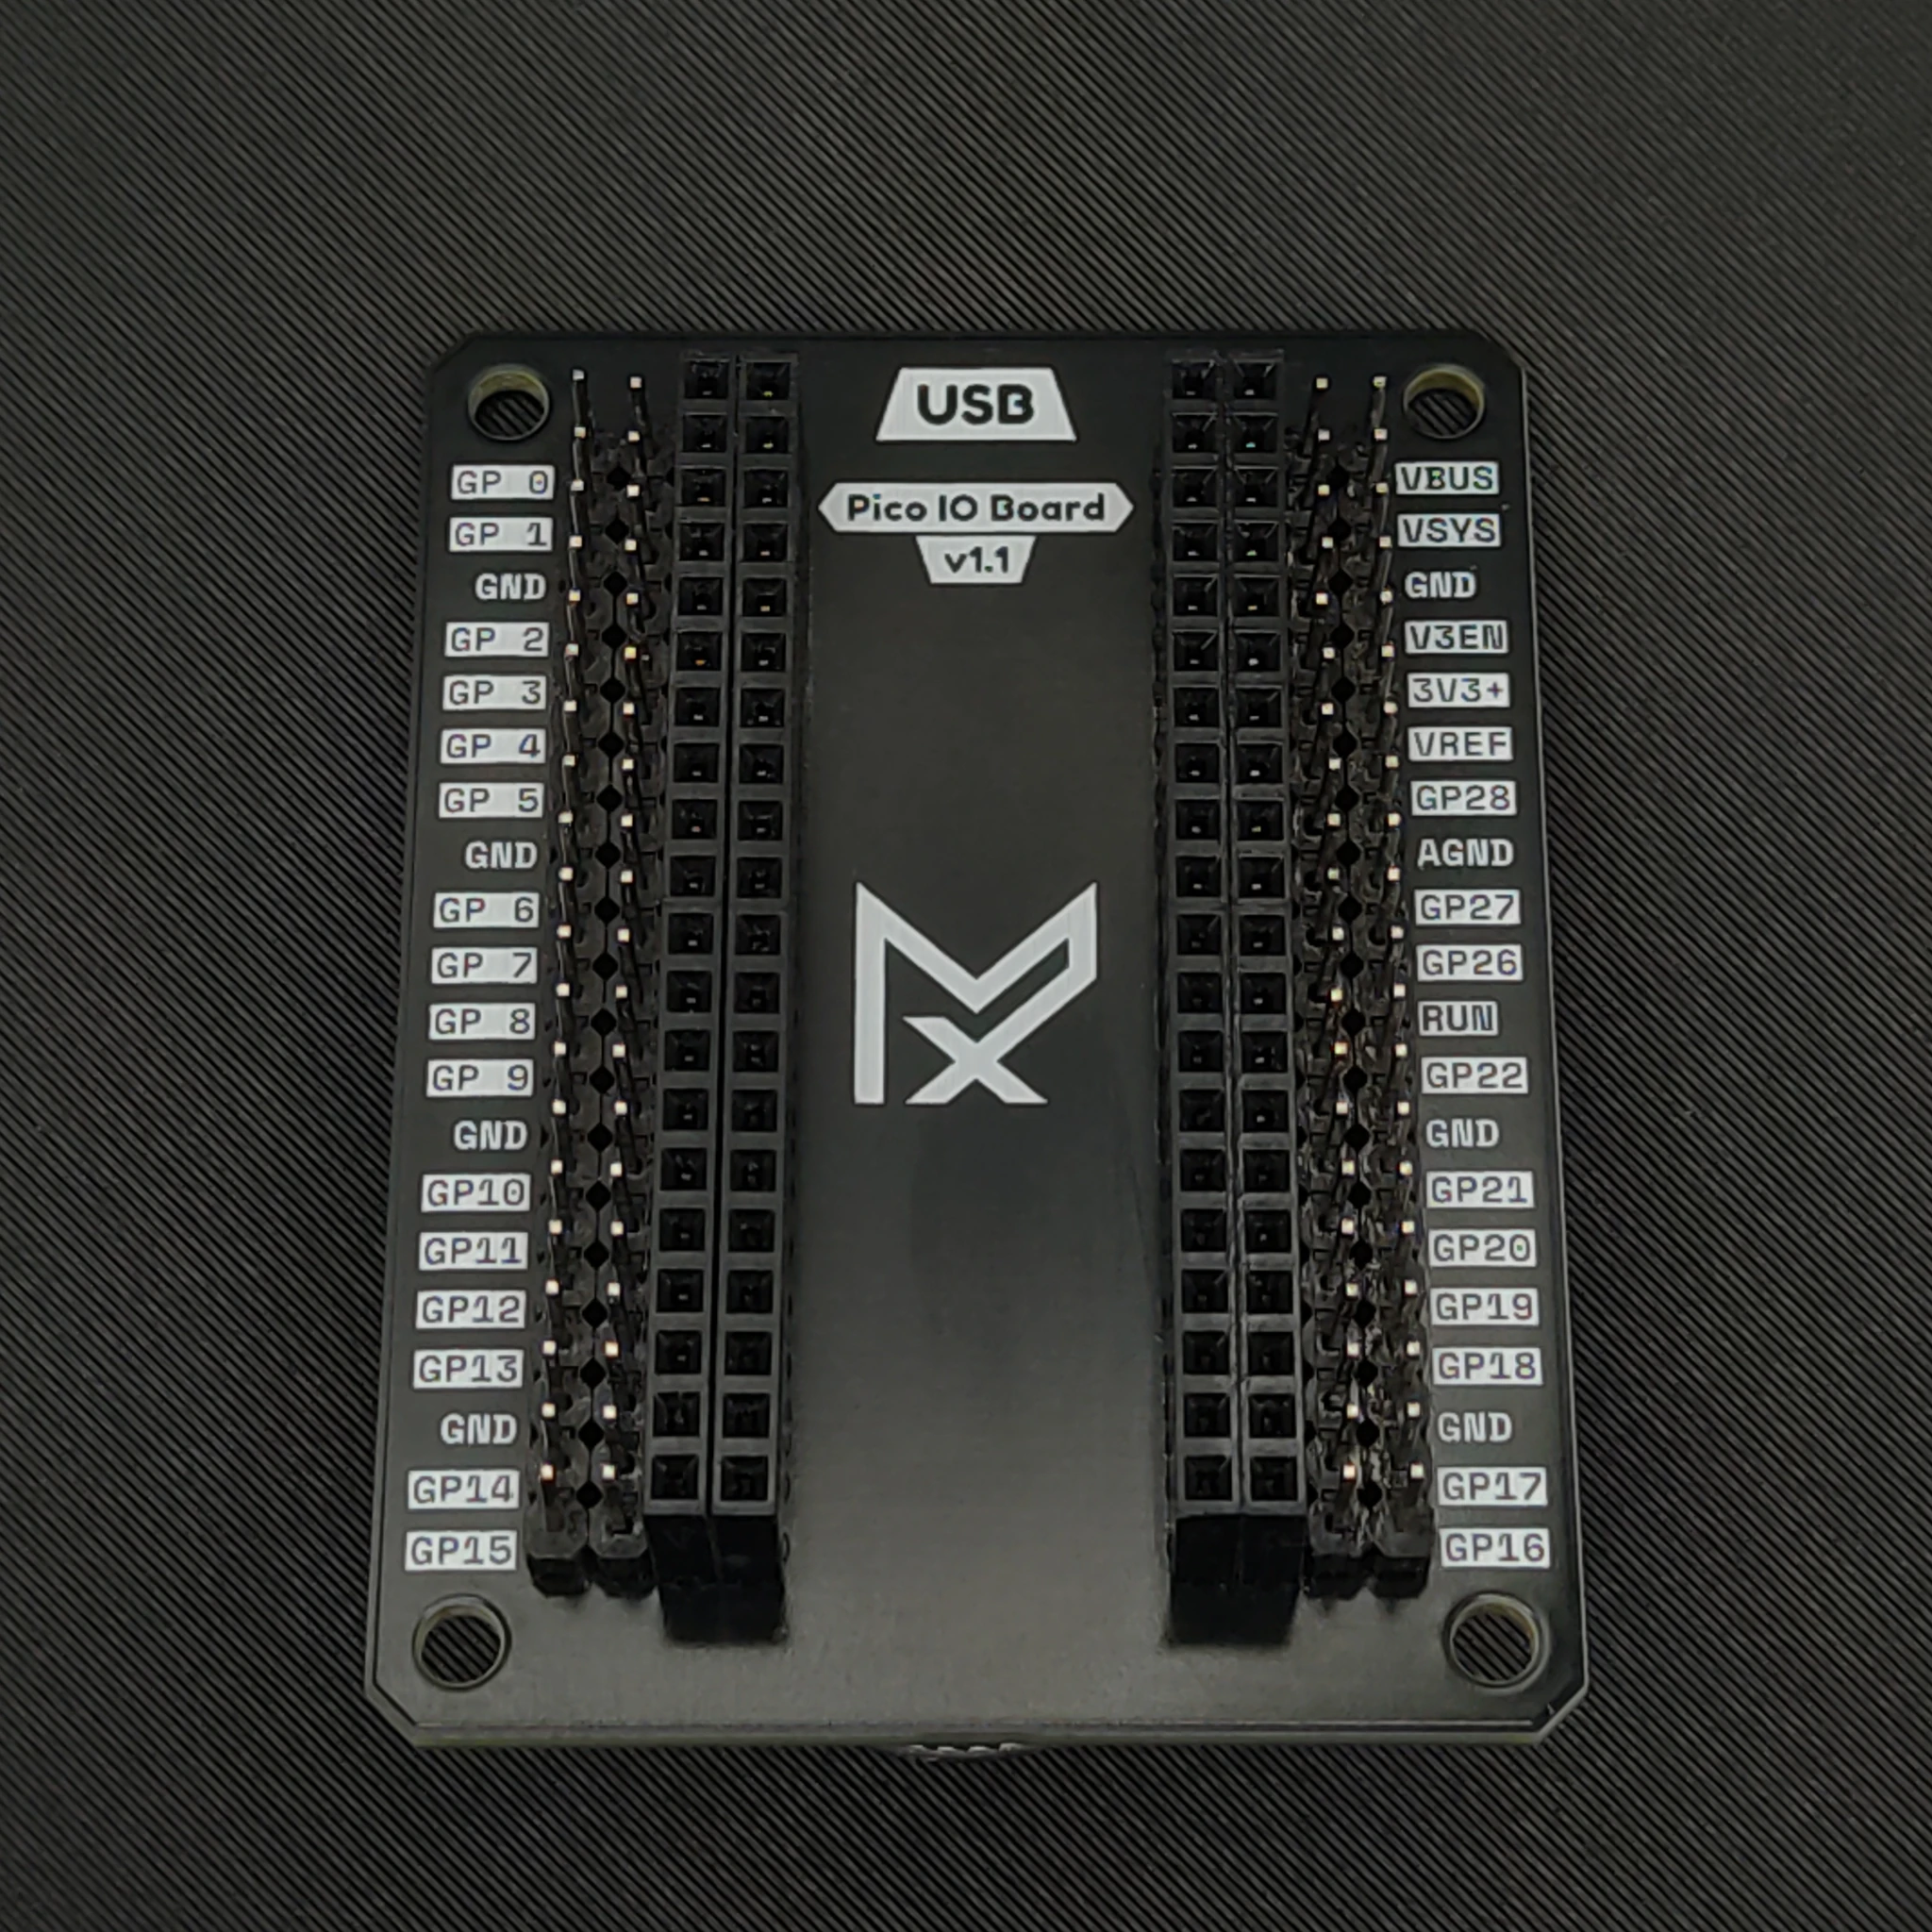
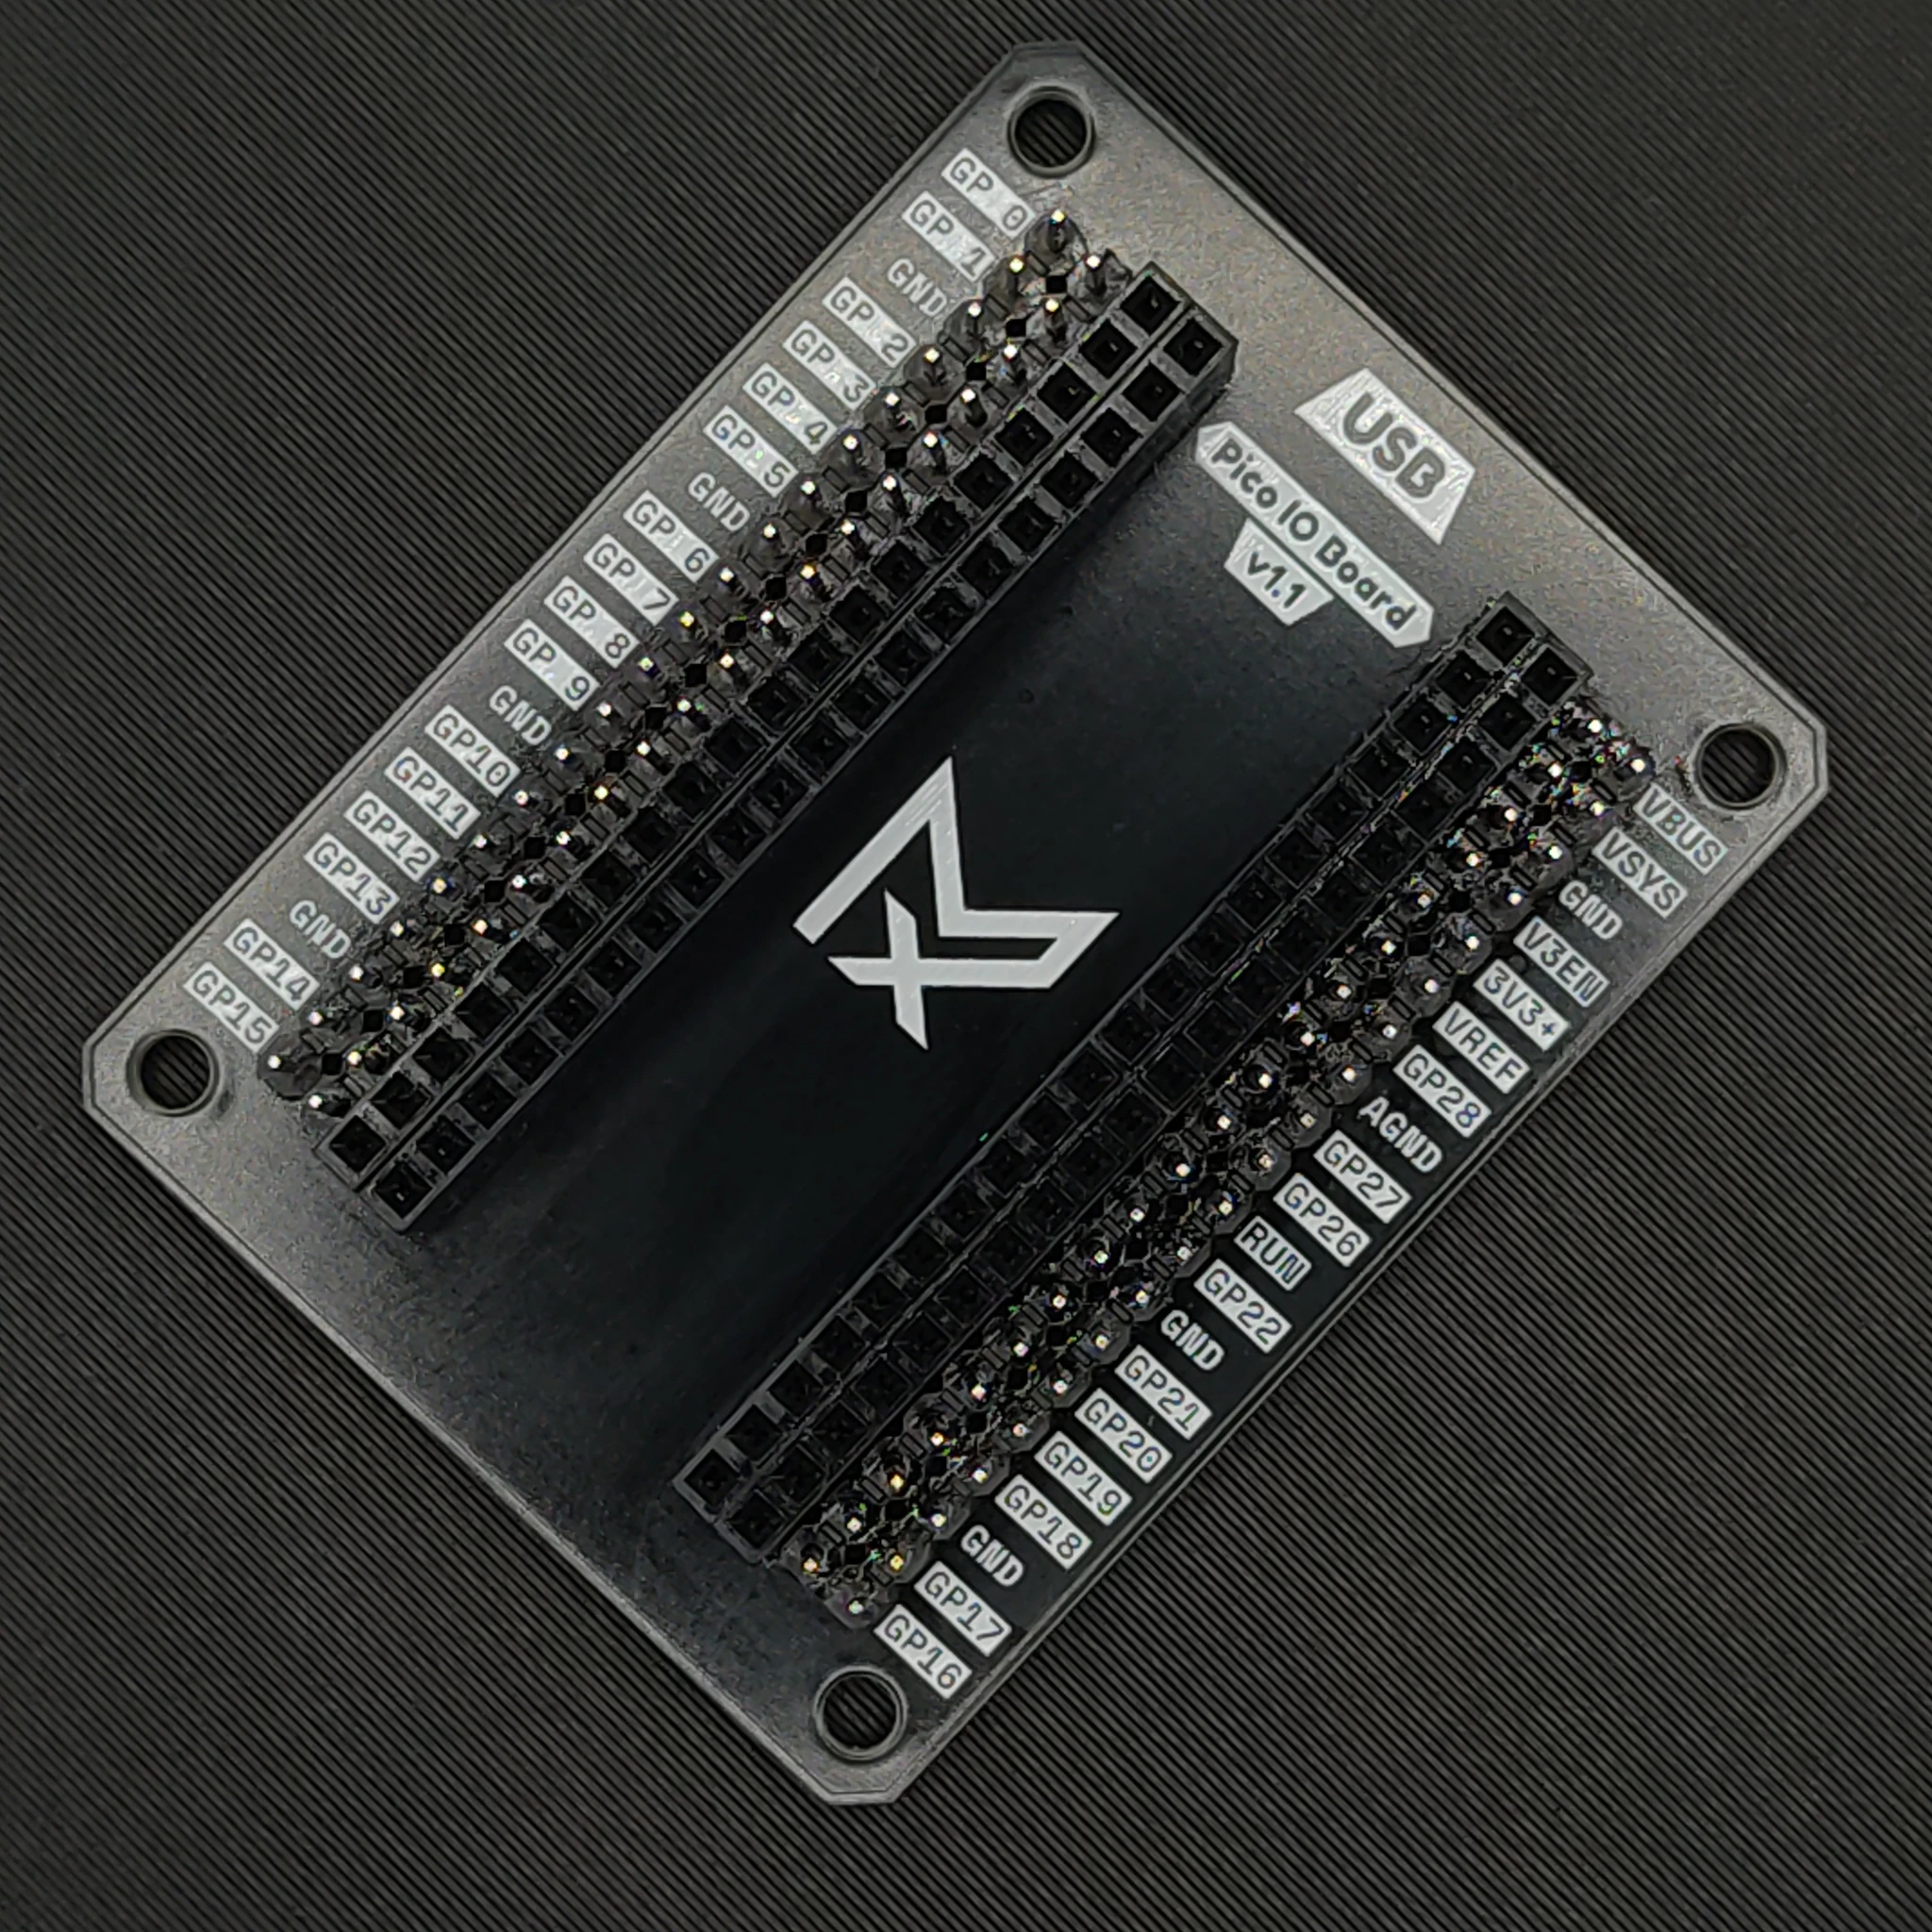
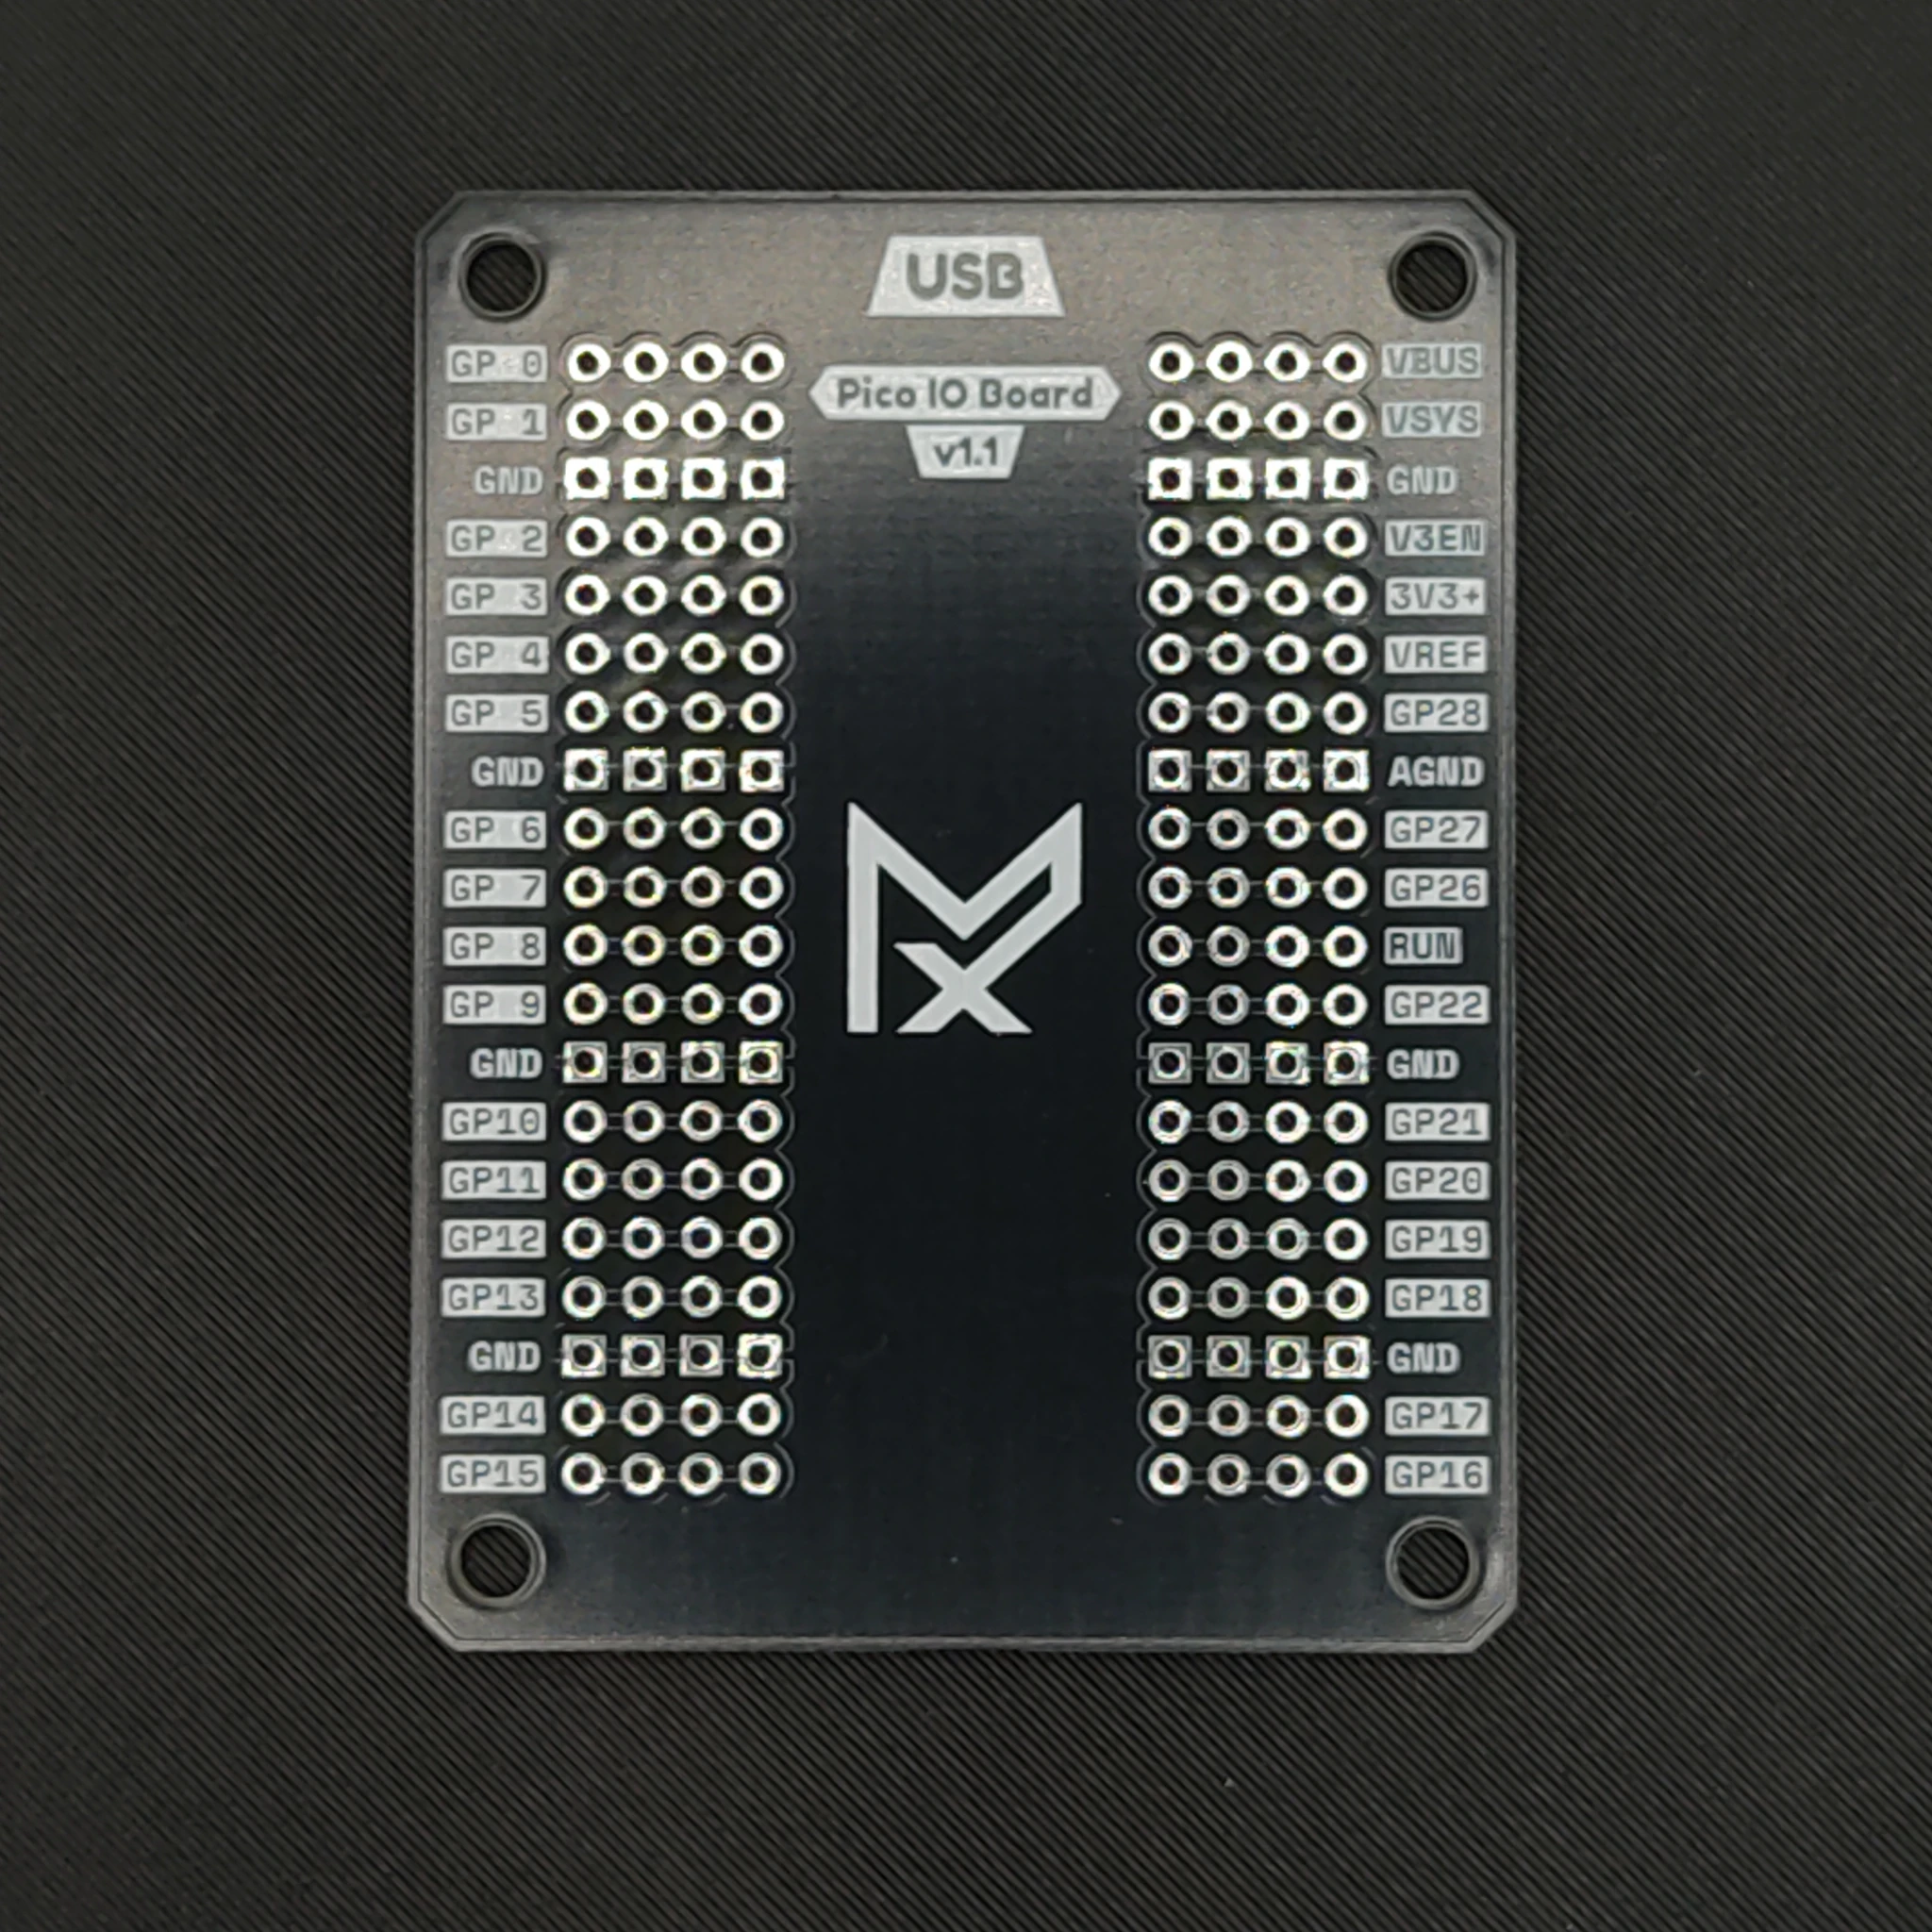
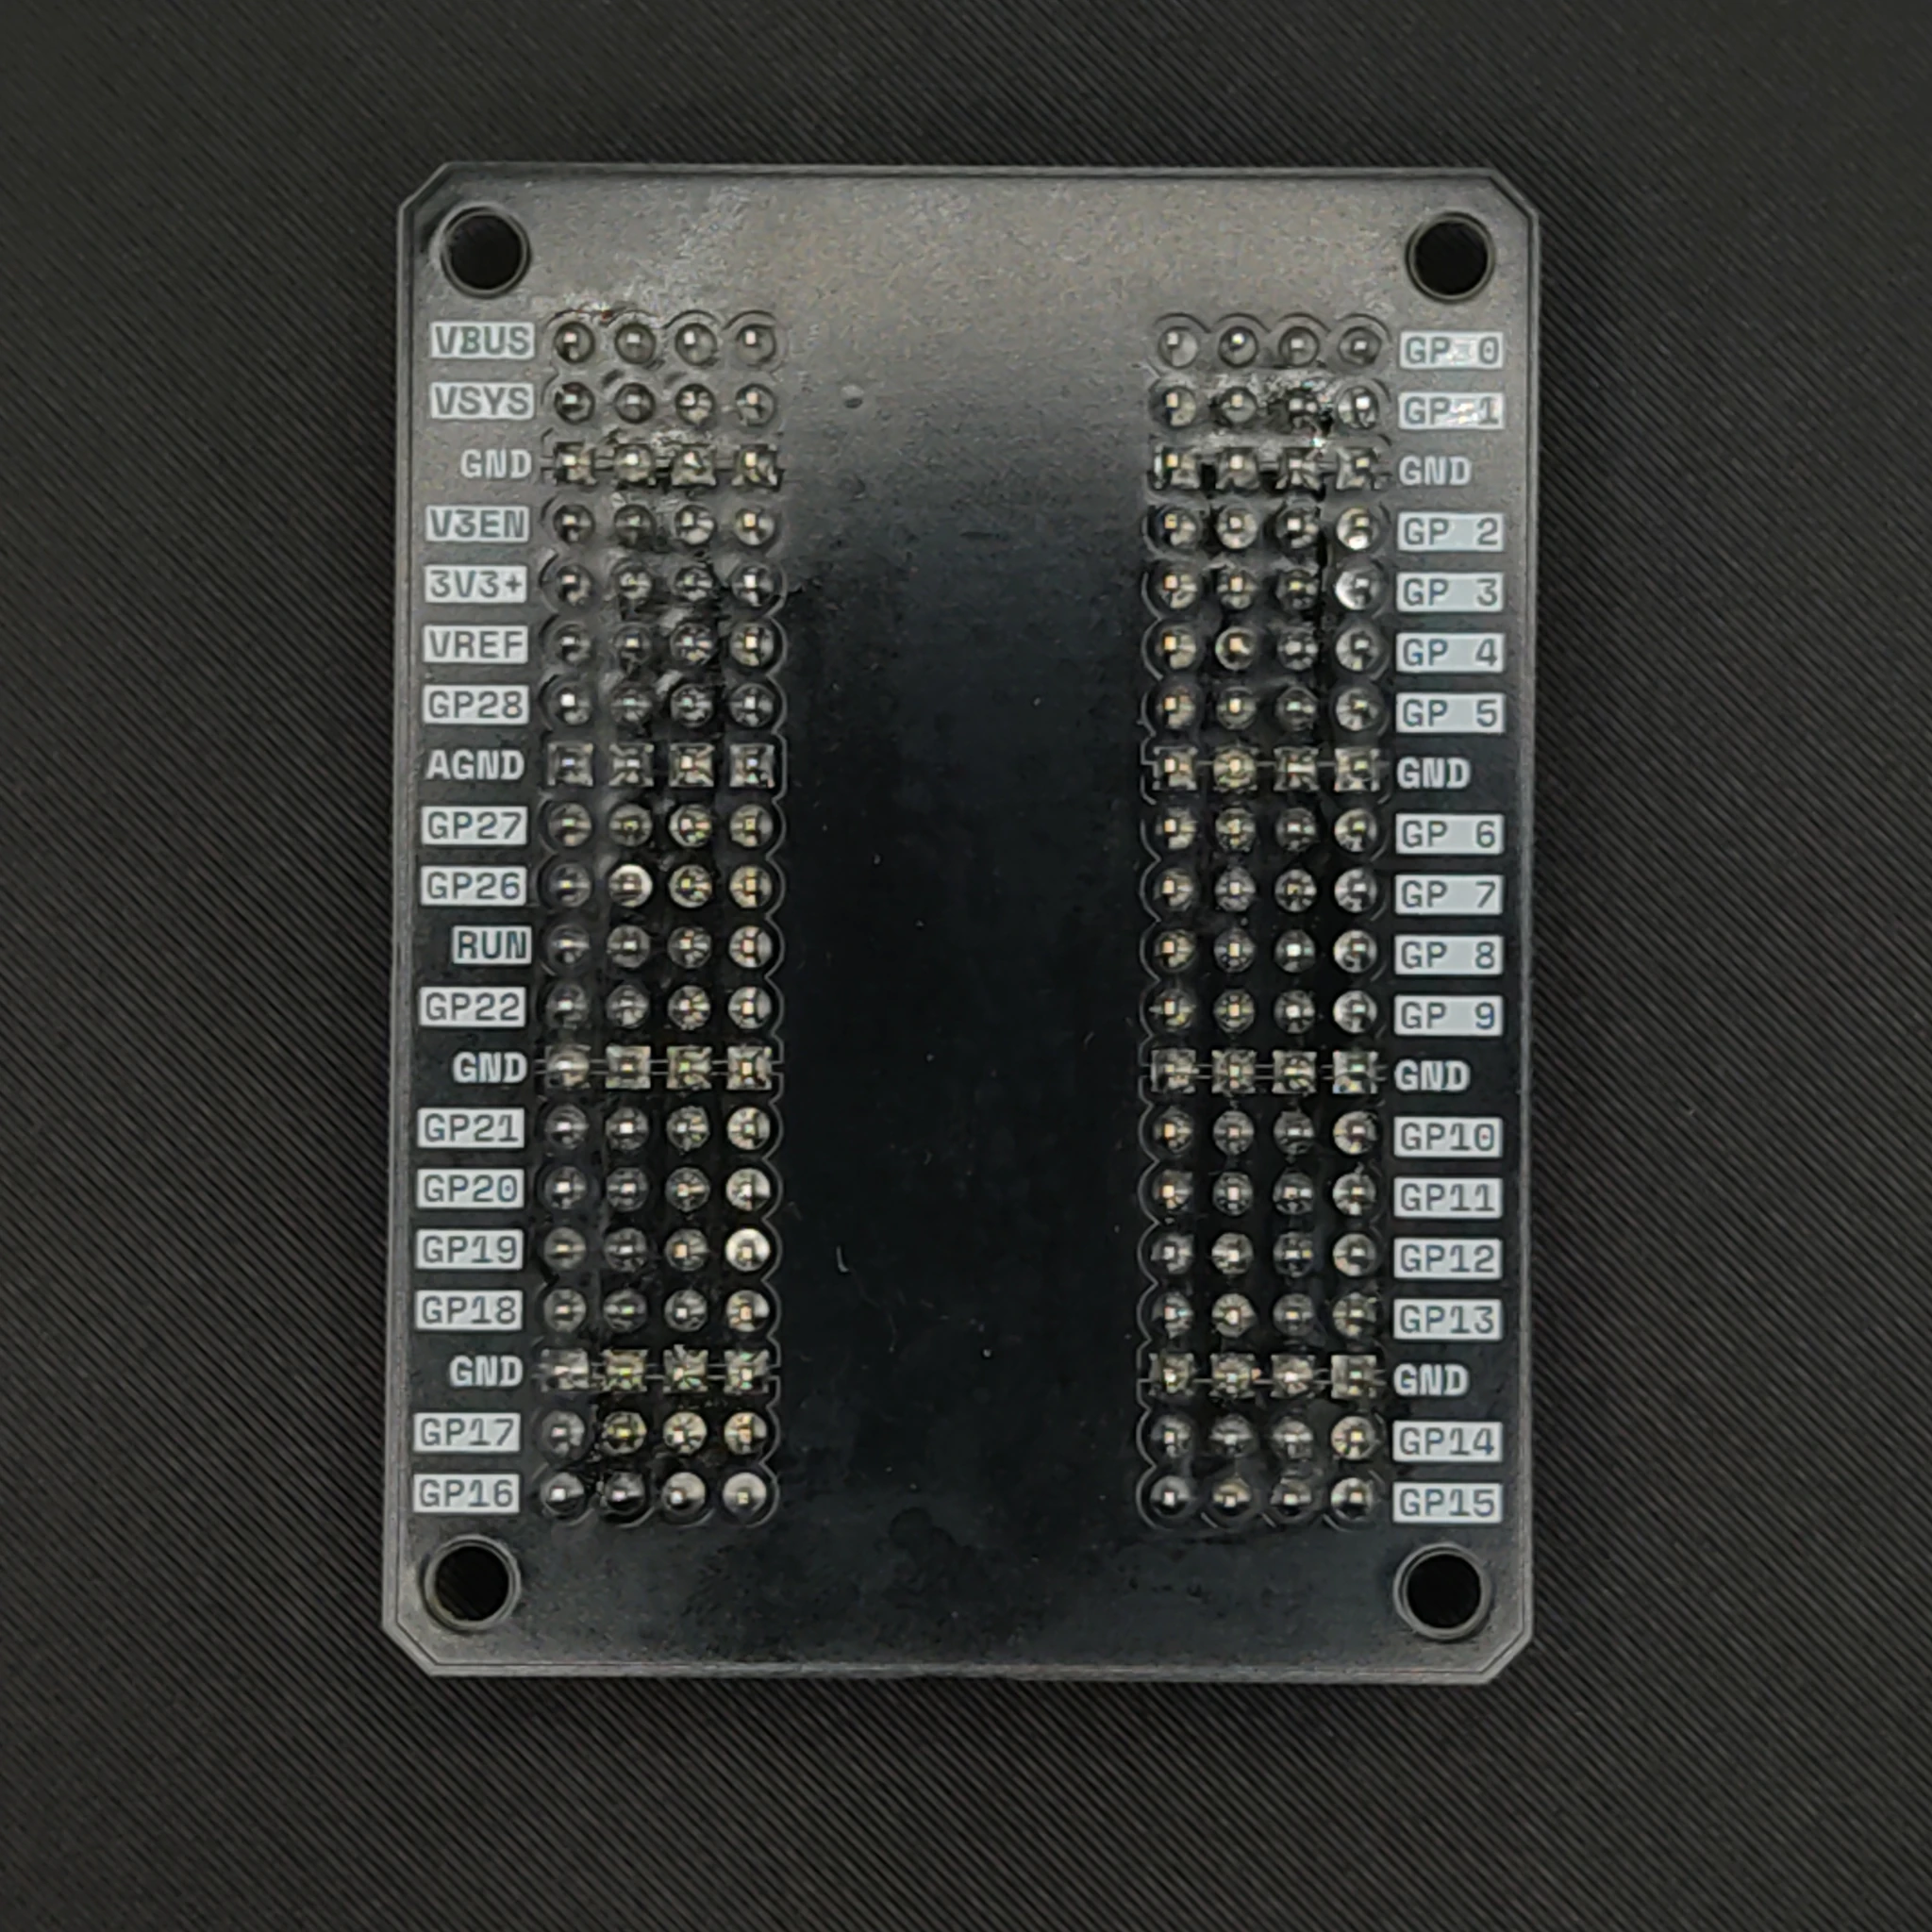
Board Layout & Photos
Assembly Information
Align pins carefully before installation.
Use breakout headers for external wiring.
Use M3 hardware for enclosure integration.
Getting Started
Simply install your Raspberry Pi Pico
into the Pico I/O Board and begin using all GPIO pins through the breakout layout.
The board is designed for:
- Rapid prototyping
- Sensor testing
- Embedded integration
- Educational projects
- Permanent installations
Legal & Compliance
Download RoHS Declaration