Programming Microcontrollers with Thonny
Thonny is a lightweight Python IDE that makes it very easy to program boards like the ESP32 using MicroPython
This guide explains how to install Thonny, flash MicroPythonmain.py script for the Smart Auto-Watering Pot.
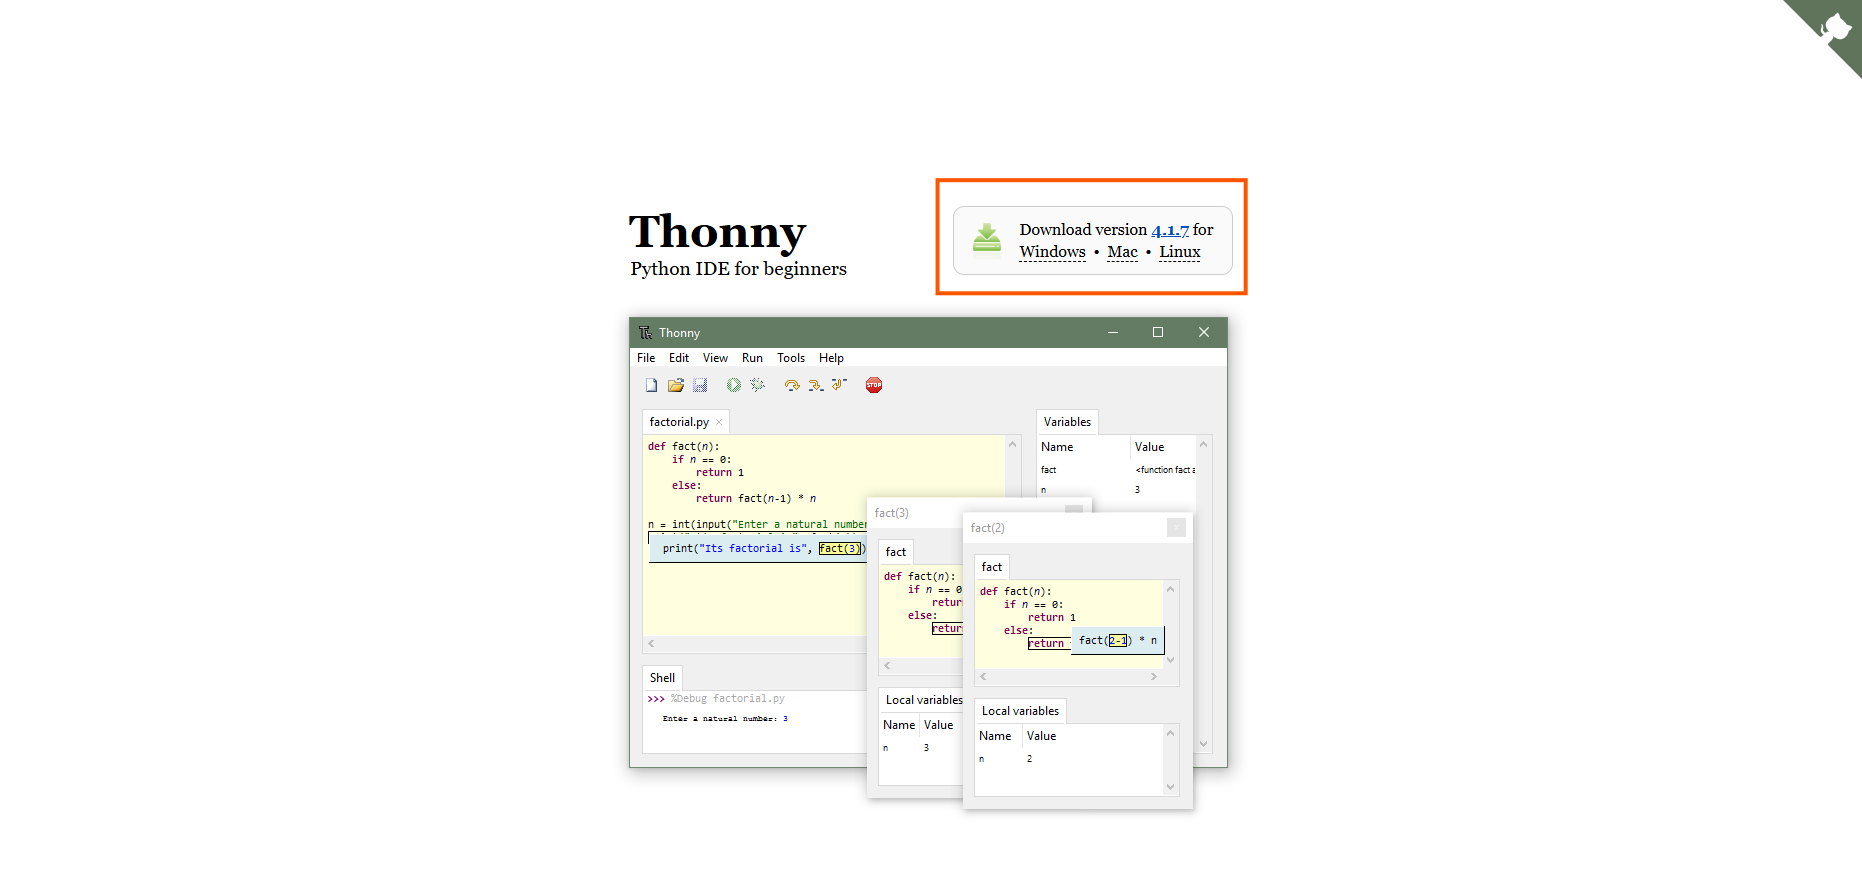
1. Install Thonny
- Download Thonny from https://thonny.org
- Run the installer and follow the prompts
- Launch Thonny once installed
2. Connect Your Board
- Plug your Board into your computer using a USB cable
- If prompted, allow Windows/macOS to install any drivers
- You should see a new COM or serial port appear
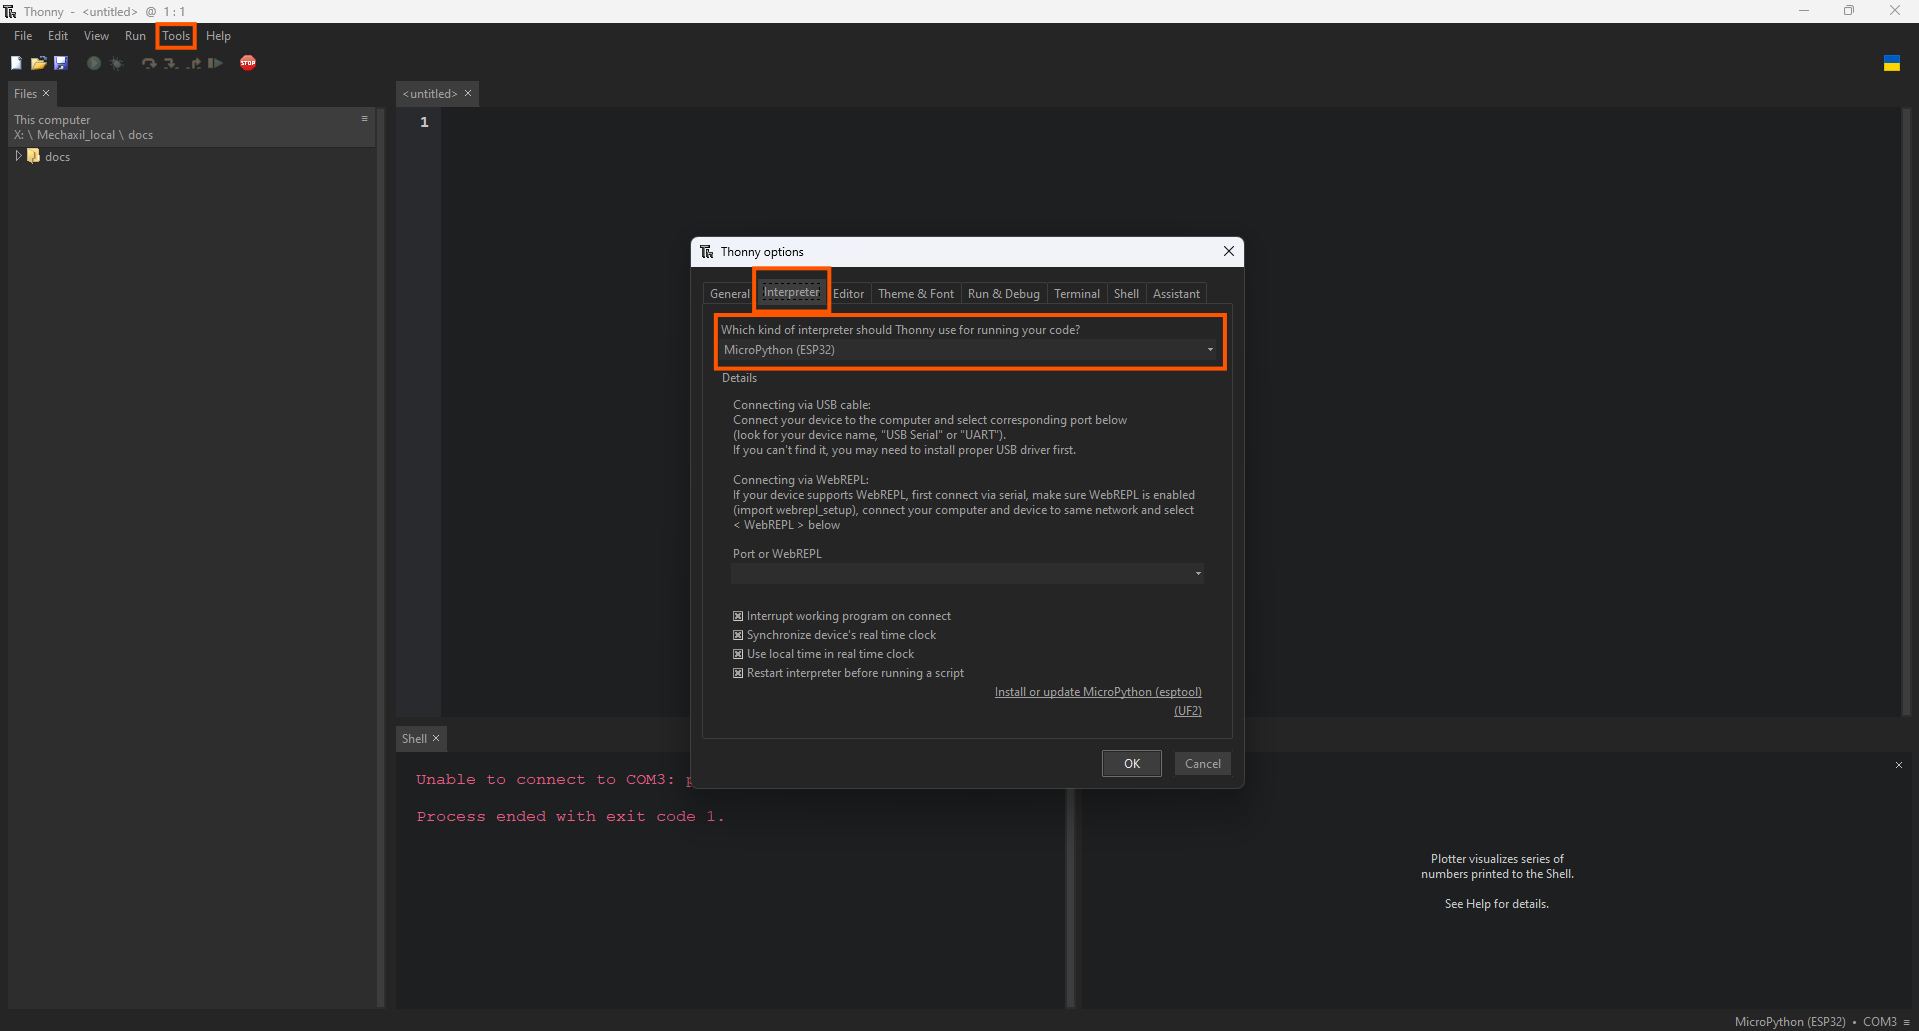
3. Flash MicroPythonA compact version of Python for microcontrollers like the ESP32 and Raspberry Pi Pico. It lets you script directly on embedded hardware. Firmware
You only need to do this once per board.
- In Thonny, go to: Tools → Options → Interpreter
- Select your board type from the list (e.g. “ESP32A low-cost, low-power system on a chip (SoC) with integrated Wi-Fi and dual-mode Bluetooth.” or “Raspberry Pi PicoA low-cost microcontroller board from Raspberry Pi, based on the RP2040 dual-core ARM Cortex-M0+ chip.”)
- Click Install or Update MicroPythonA compact version of Python for microcontrollers like the ESP32 and Raspberry Pi Pico. It lets you script directly on embedded hardware.
- Wait for the process to complete
4. Verify the REPLRead-Eval-Print Loop - an interactive environment that executes commands immediately and prints the result. Connection
At the bottom of Thonny, you'll see the MicroPython
Try typing:
print("Hello from <GlossaryTerm term="MicroPython" />!")
If it prints successfully, your board is ready.
5. Upload the Firmware
- Open the
main.pyfile from thefirmware/folder of this project - Click Run → Save As... and choose MicroPythonA compact version of Python for microcontrollers like the ESP32 and Raspberry Pi Pico. It lets you script directly on embedded hardware.device
- Name the file
main.py— this makes it run automatically on boot - Click Save
6. Watch It Run
After saving, the code should start immediately.
You can monitor the serial output from the Thonny shell — it will print live moisture readings and watering events.